Showing posts with label scrapbook paper. Show all posts

Thursday, December 1, 2011

Wreath in Red


I remade this wreath in red for Christmas and I love it. I used candy apple criss cross cardstock paper from bazzill basics and two shades of Tim Holtz distressing ink, vintage photo and walnut stain.

It took 6 sheets of 12x12 paper for a 9 inch wreath. You can click on the wreath link above for the full tutorial. Merry Christmas!

Linking up to

Wednesday, December 15, 2010

Holiday Book

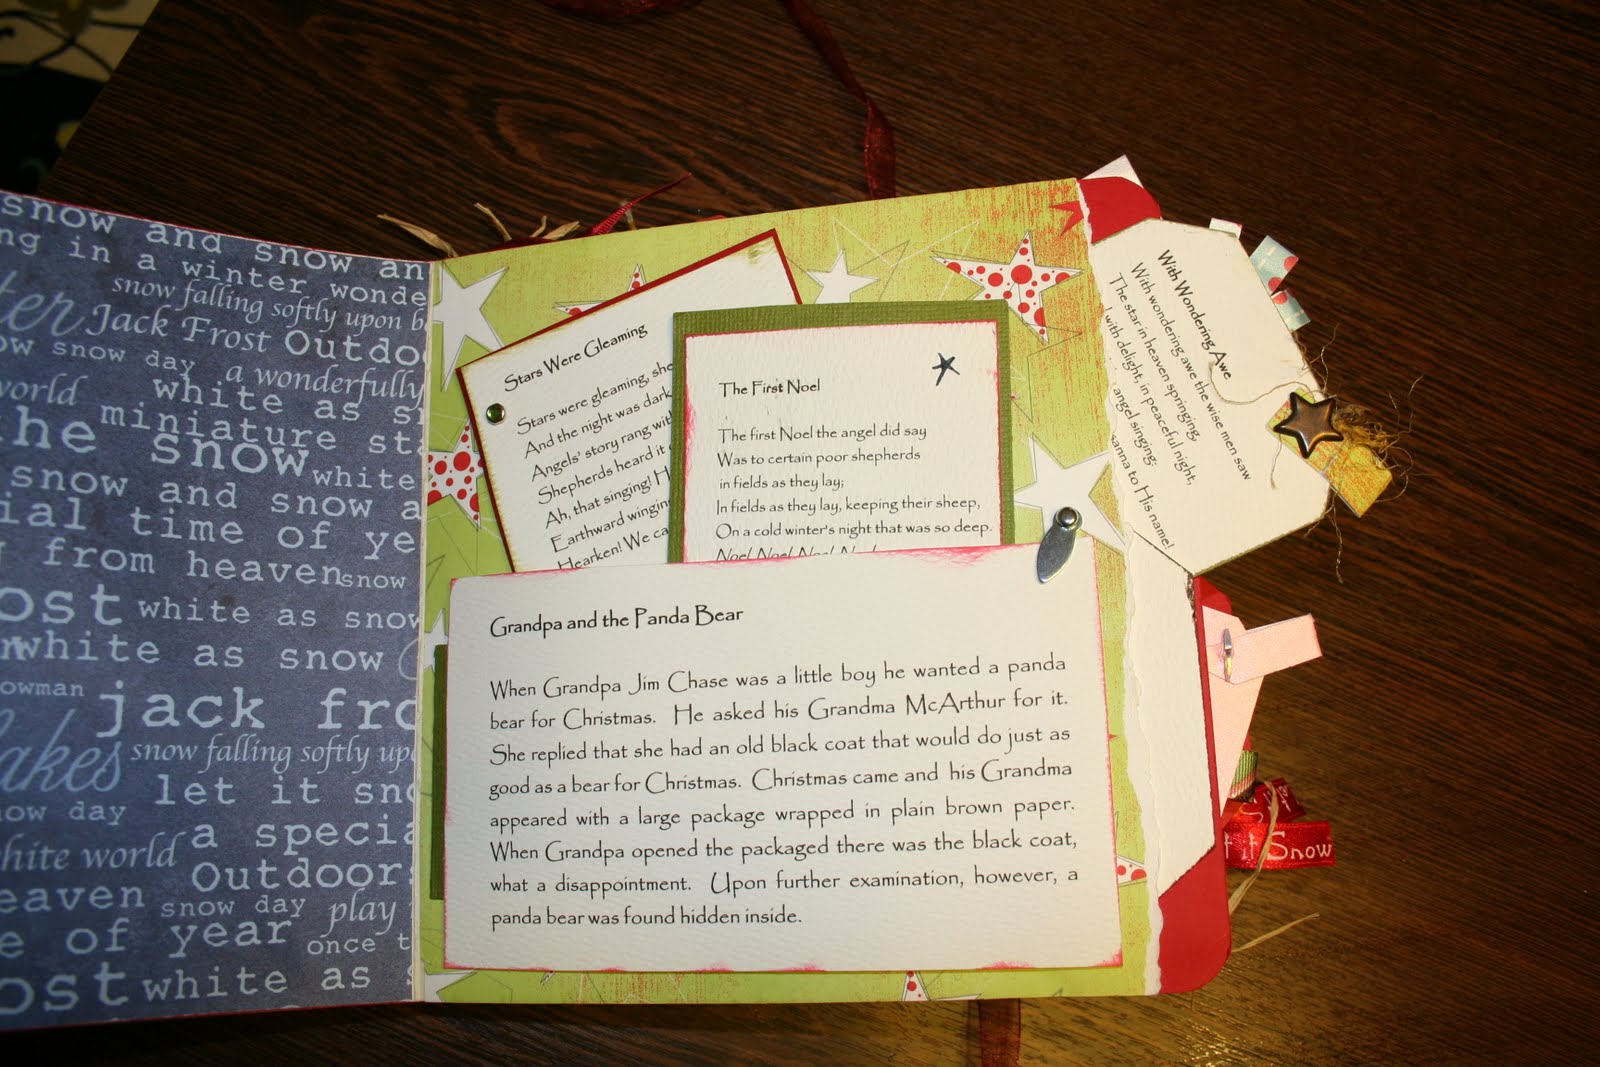
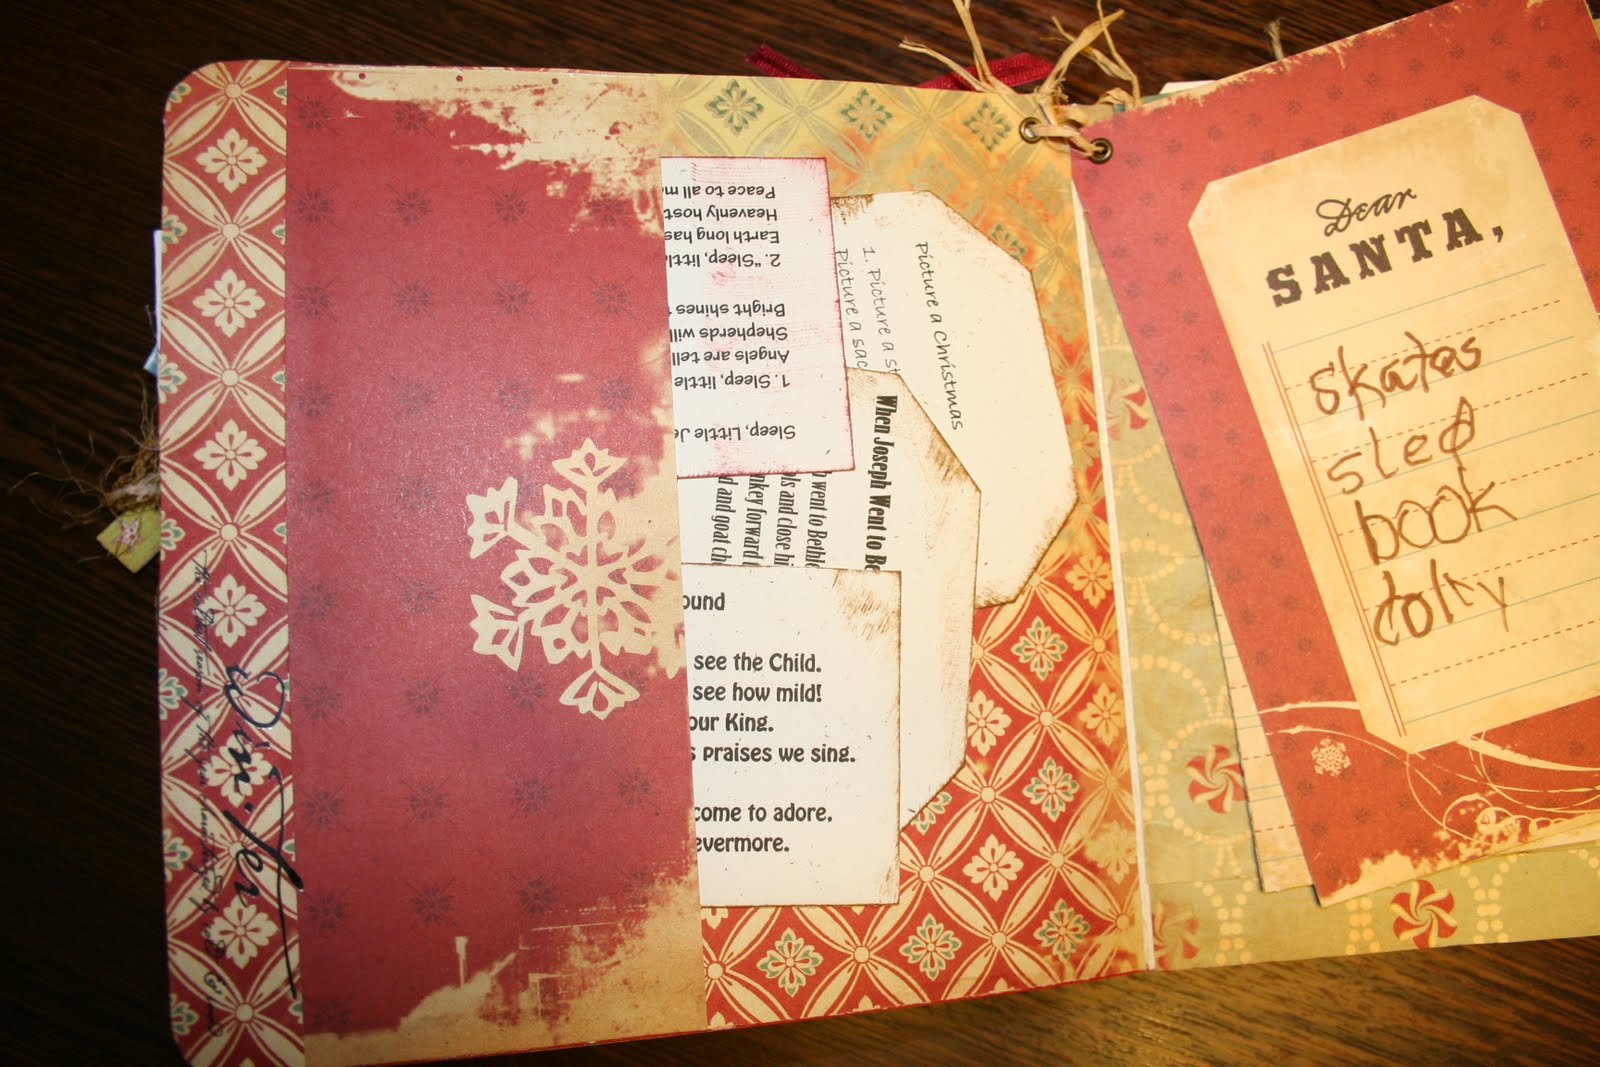
Growing up my family had the tradition of reading a story and then singing a song every night in December. I wanted to do that too so I made our own holiday book. We start ours on the 13th of December and do it for 12 days. The girls love it. I thought I would show you a couple of the pages. I used a dollar store board book and ripped the pictures off and then painted its edges and covered it with scrapbook paper.

Each of the pages has one story and several songs on tags that can be pulled out of pockets.


I put a lot of family stories in it about Christmas's from the grandparents which the girls love. It has been a great way for them to learn a little about their ancestors and have some holiday fun.


Friday, December 3, 2010

Wreath on Canvas Tutorial

Have you seen that fabulous fabric wreath over at V and Co. The first thing I thought when I saw it was I want one. The second thing I thought was I can make it with paper.

Here is what you'll need: Glue, paper cutter, scrapbook paper, rub-ons, canvas, card stock.

First things first, I used a bowl to cut out a circle and then I just cut out its center. No need to be exact here because it is going to get covered. You can just draw a circle onto your canvas but I tried this and it didn't turn out as round.


Next cut your strips of paper 2 1/2 inches by 1/2 inch.


Fold your paper in half to find its center.


Now fold each side down at the center crease.


Do the same with the other side so you have this.


Glue down paper on your "wreath form."

Glue your wreath onto the canvas and get your rub-ons placed down.
I have also done this as a gift using a monogram so I thought I would show you what it looks like.
I used another rub on and made a tag.
Proudly display your work of art.
I also made one with three mini wreaths, I will show you the finished project next week and give you the dimensions for the paper strips I used.

Linking to here:


Join  us Saturdays at tatertotsandjello.com for the  weekend      wrap    up           party!


Chic on a Shoestring Decorating

Tuesday, October 26, 2010

Pretty Treat Packaging Part 2

My friend Beth makes fantastic treats. Recently she has been making candy apples and they are gorgeous but she wanted some fun packaging to put them in and asked me if I could help. (These boxes are also the perfect size for CUPCAKES, CARMEL POPCORN, or at Christmas time some yummy CHEX MIX and other tasty treats.)
Don't these look fabulous, this picture is from her blogspot.
Okay my apple isn't all decked out but I needed one to use for measuring and I think it still looks pretty all packaged up. Follow the same steps for making the box that are found here. only your square should be 6 1/4 x 6 1/4 inches. Score at 4 3/4 inches (1 1/2 inches in on each side).

Measure how tall you apple is with the stick in. Mine was between 7-8 inches tall so I cut my pattern paper 9 inches tall 3 1/4 inches wide. I scored the bottom of each strip of paper in 1 1/2 inch. Glue your patterned paper to the box. I punched a hole in mine so you could see a little bit of apple peeking out.
Place your apple in the box and attach the top of the two sides together. You can glue it or use brads or eyelets to secure it. For this one I used a little piece of scrap paper folded it in half, used a hole punch to punch through all layers and then secured it with some thick string.
Decorate and voila beautiful packages.

A few different ideas one with eyelets:


And if your treat isn't as tall you can use one strip of 12 inch paper and fold it in half like this one perfect for a deluxe birthday cupcake.

By the way if you are in the Boise area you can order some Sweets by Beth, her cheesecakes are AMAZING!!!! just let me know and I will send you her contact information.

Friday, October 15, 2010

Package It Pretty Tutorial Part 1


Isn't it nice to have a pretty package for your treats you give away. There are three different size treat packages that I like to keep on hand. The first are these cute little boxes. Four truffles fit perfectly in the box. Two cookies also snuggle right down in there.

so here's the how to:

you will need: solid card stock, paper cutter, glue, pattern paper, ribbon and other embellishments, scissors, and clothesline clips (not necessary but pretty handy)

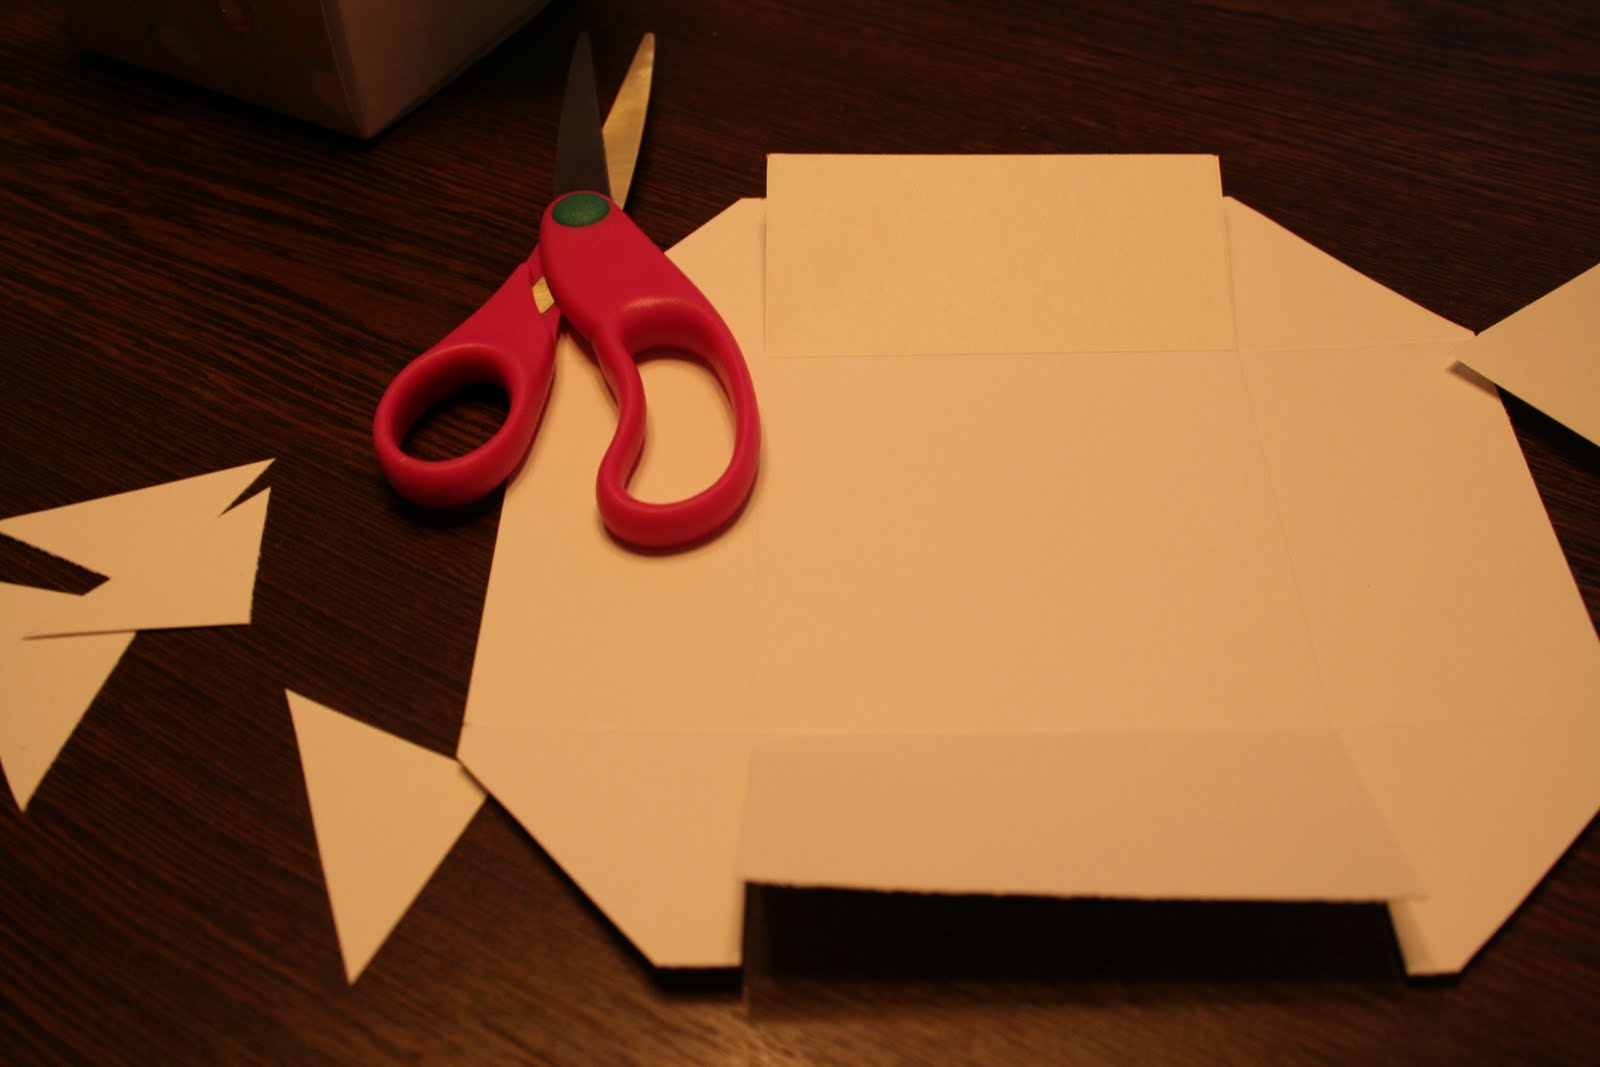
For a treat box that is 3 inches by 2 inches start with a piece of solid cardstock measuring 7 inches square. Score all four sides of your square at 5 inches.


There will be four mini scored squares in each corner. You are going to make four cuts, one on each of the inside score lines of the mini square.


Trim the corners of your paper.


Fold in the corners and secure with glue.


I secure these with clothes pins for a few seconds while they dry.
Using a twelve inch long by 3 inch wide strip of patterned paper score at the following: 2, 4, 7, 9 inches.
Place your box in the middle.
There are different ways that you can secure the outer paper. You can use glue, ribbon, tape, brads or eyelets. Embellish and enjoy...


Join  us Saturdays at tatertotsandjello.com for the weekend wrap    up           party!