Have you seen those gorgeous curled wood chip wreaths. I want one, but I don't want to spend the money. The alternative was to make one. I don't have curled wood chips on hand but I did have a book that was just waiting for a makeover. Want to make one too? Instructions are below.

Materials list: wreath form, chapter book, different size circle templates, glue, distressing ink.

I used three different sizes of circles as you can see from above some of my templates were pretty primitive: a desert dish, a canning jar, and my circle punch. I mainly used the larger sized circles and used the other two as fillers. So cut out your circles, about 40 large ones and 20 each of the medium and small sized ones. Then use a little distressing ink to smudge them up a bit and give them some dimension.
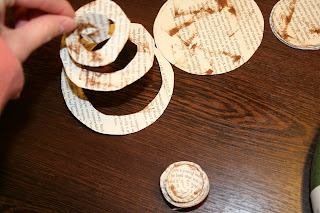
Cut your circles into a spiral.

Starting from the inside roll it up. Use a little dab of glue to secure the end piece.

Cover your wreath form with extra pieces of book pages.

Attach your roses with hot glue. I did two rows of the large size and then filled it in with the small and medium ones.

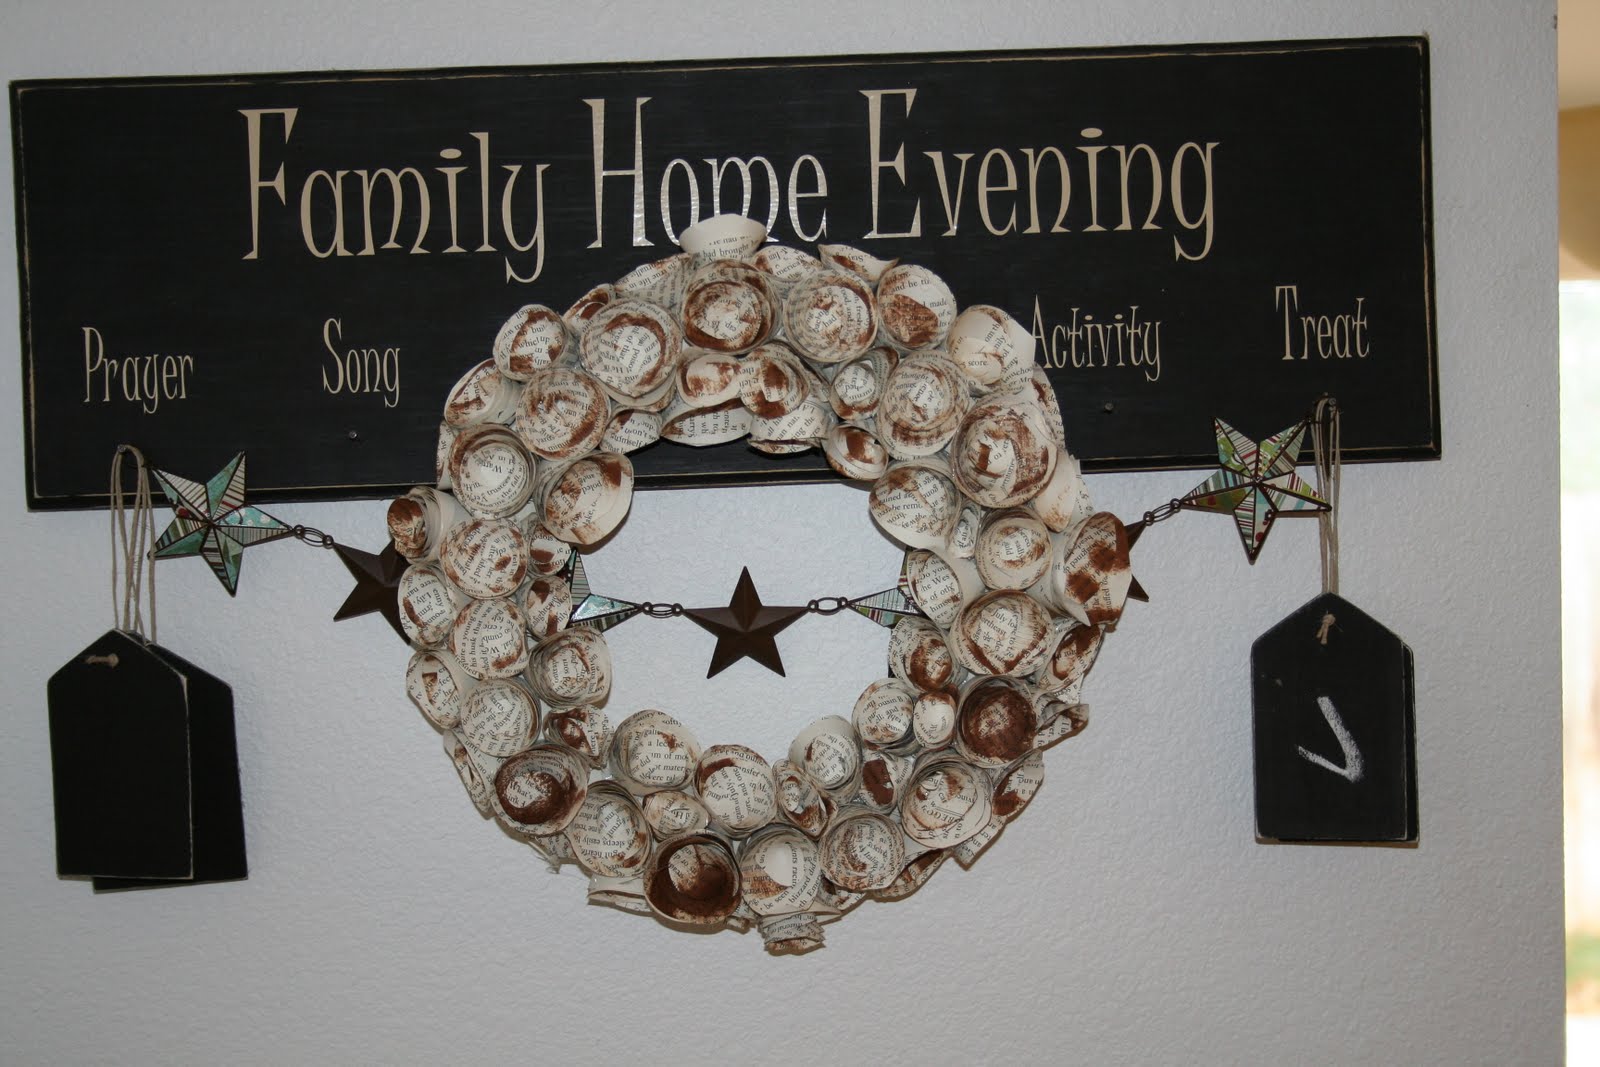
Hang up and enjoy. I did have a red bow tied around this and it looked okay but I liked it better with the star garland behind it.


 I used a dollar store board book and ripped the pictures off and then painted its edges and covered it with scrapbook paper.
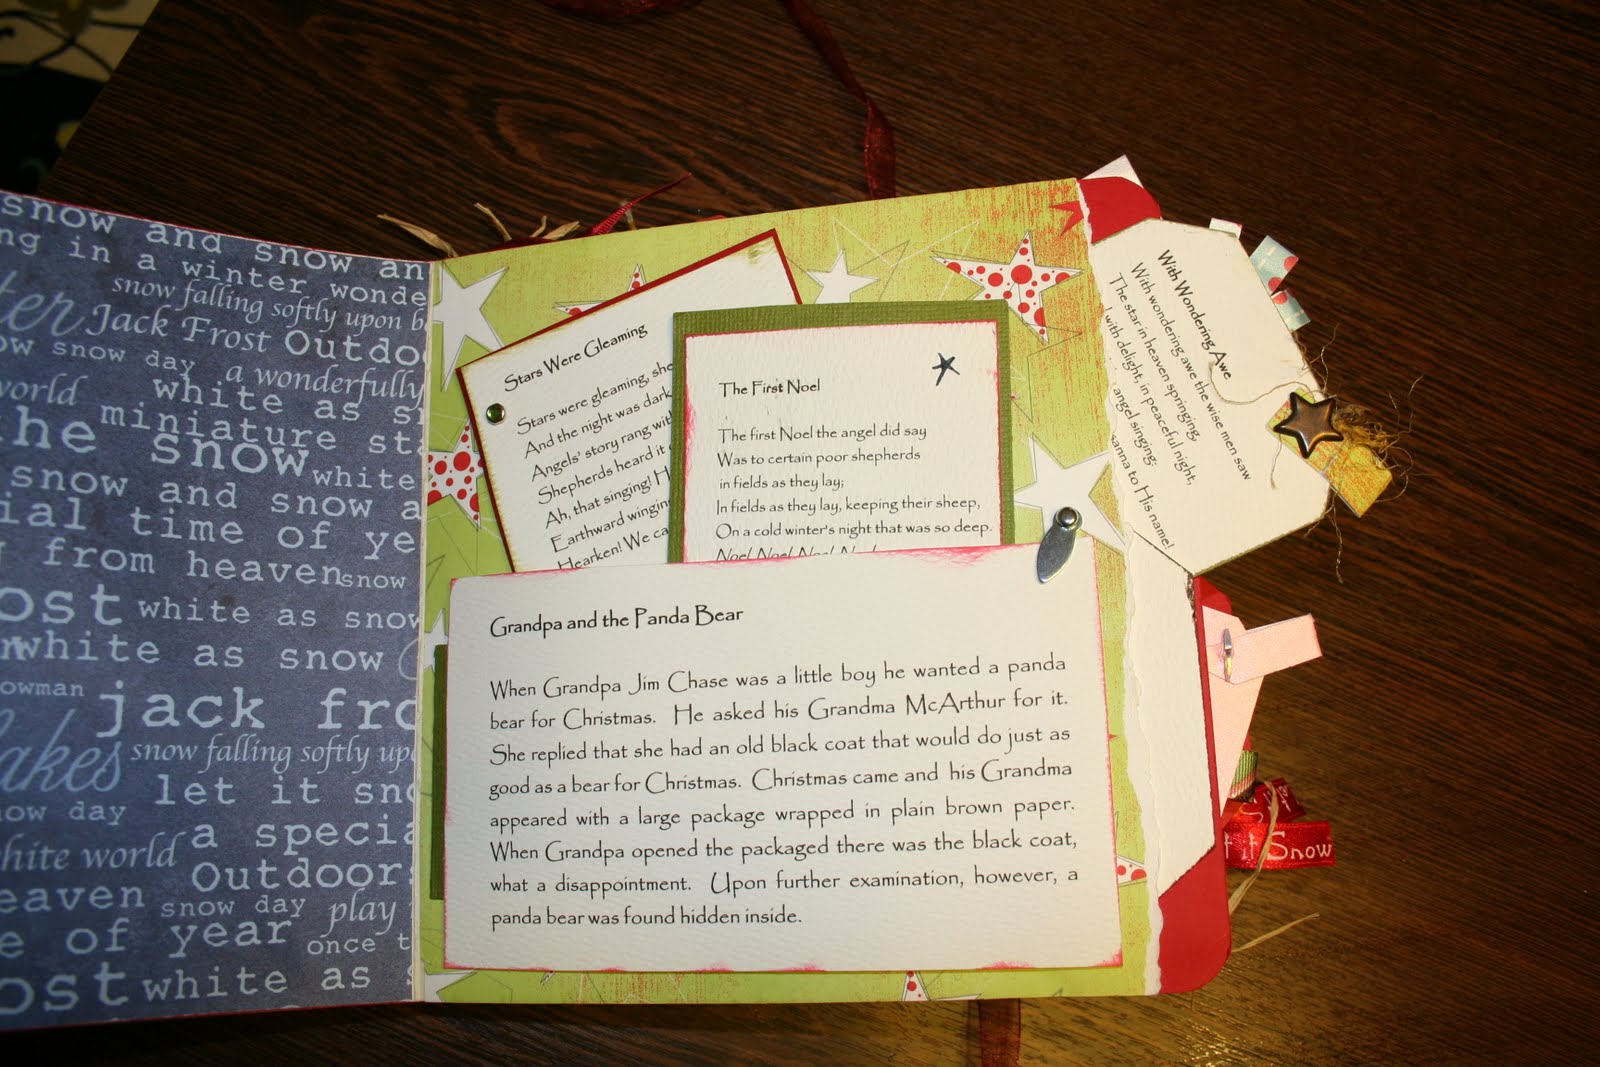
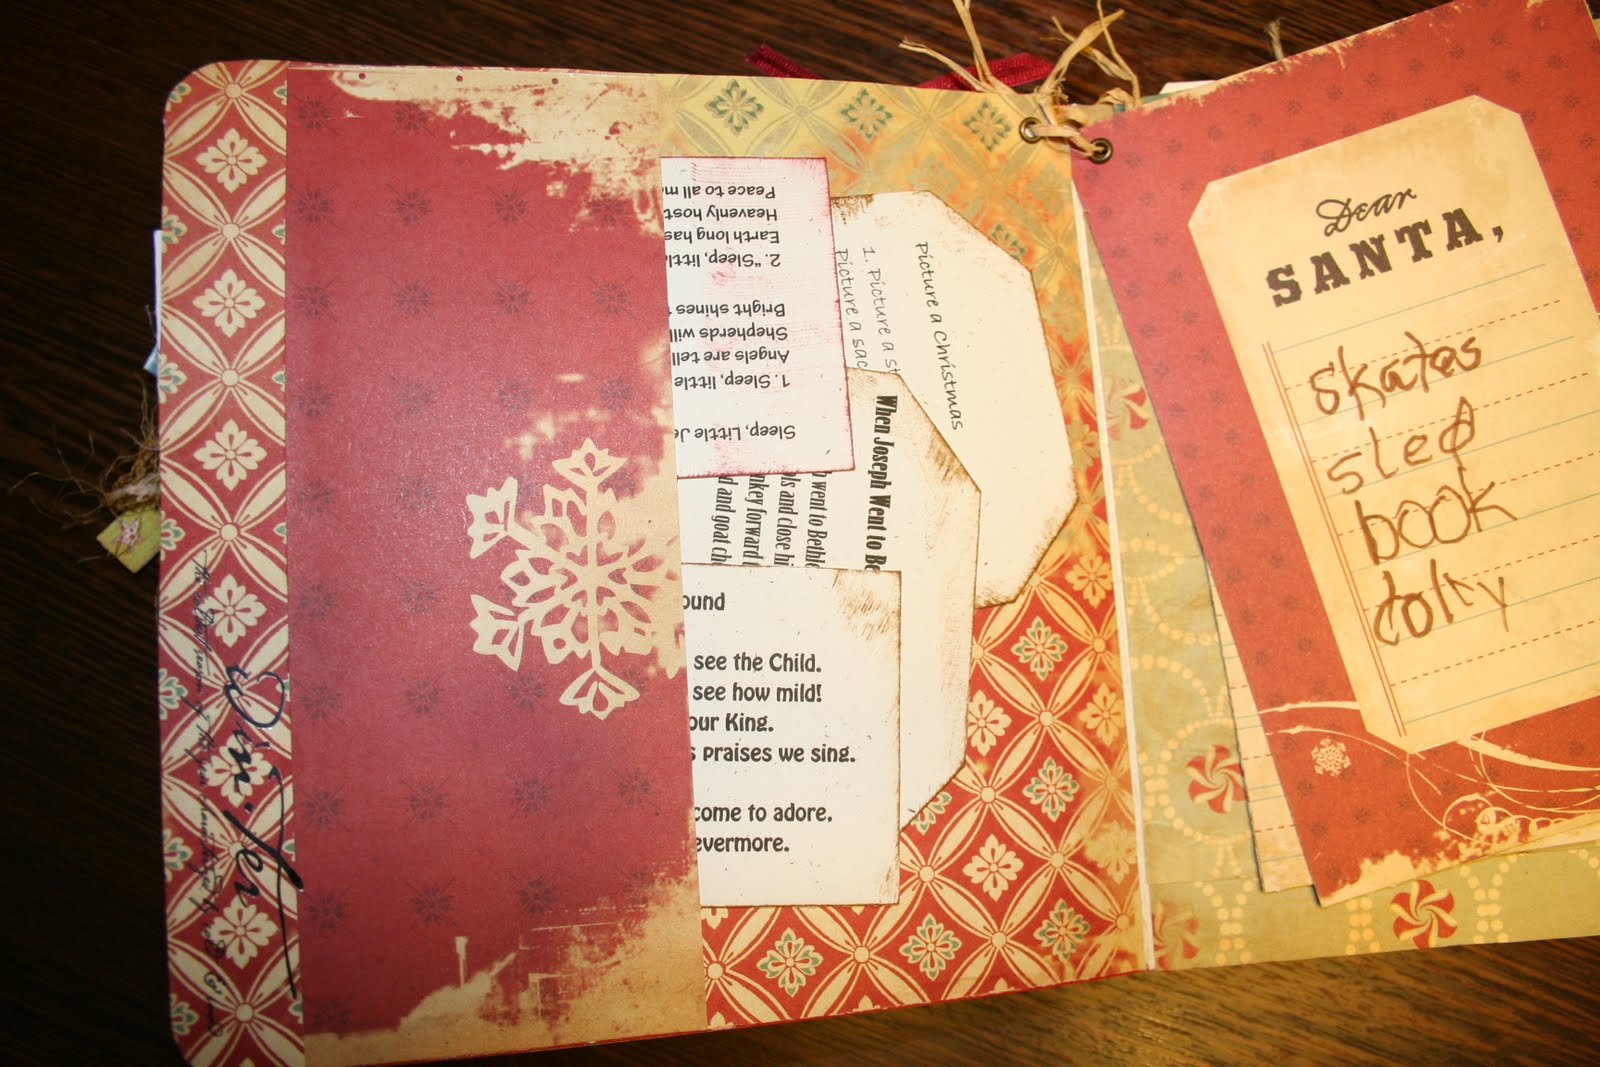

 I put a lot of family stories in it about Christmas's from the grandparents which the girls love. It has been a great way for them to learn a little about their ancestors and have some holiday fun.
  Have you seen that fabulous fabric wreath over at V and Co. The first thing I thought when I saw it was I want one. The second thing I thought was I can make it with paper.


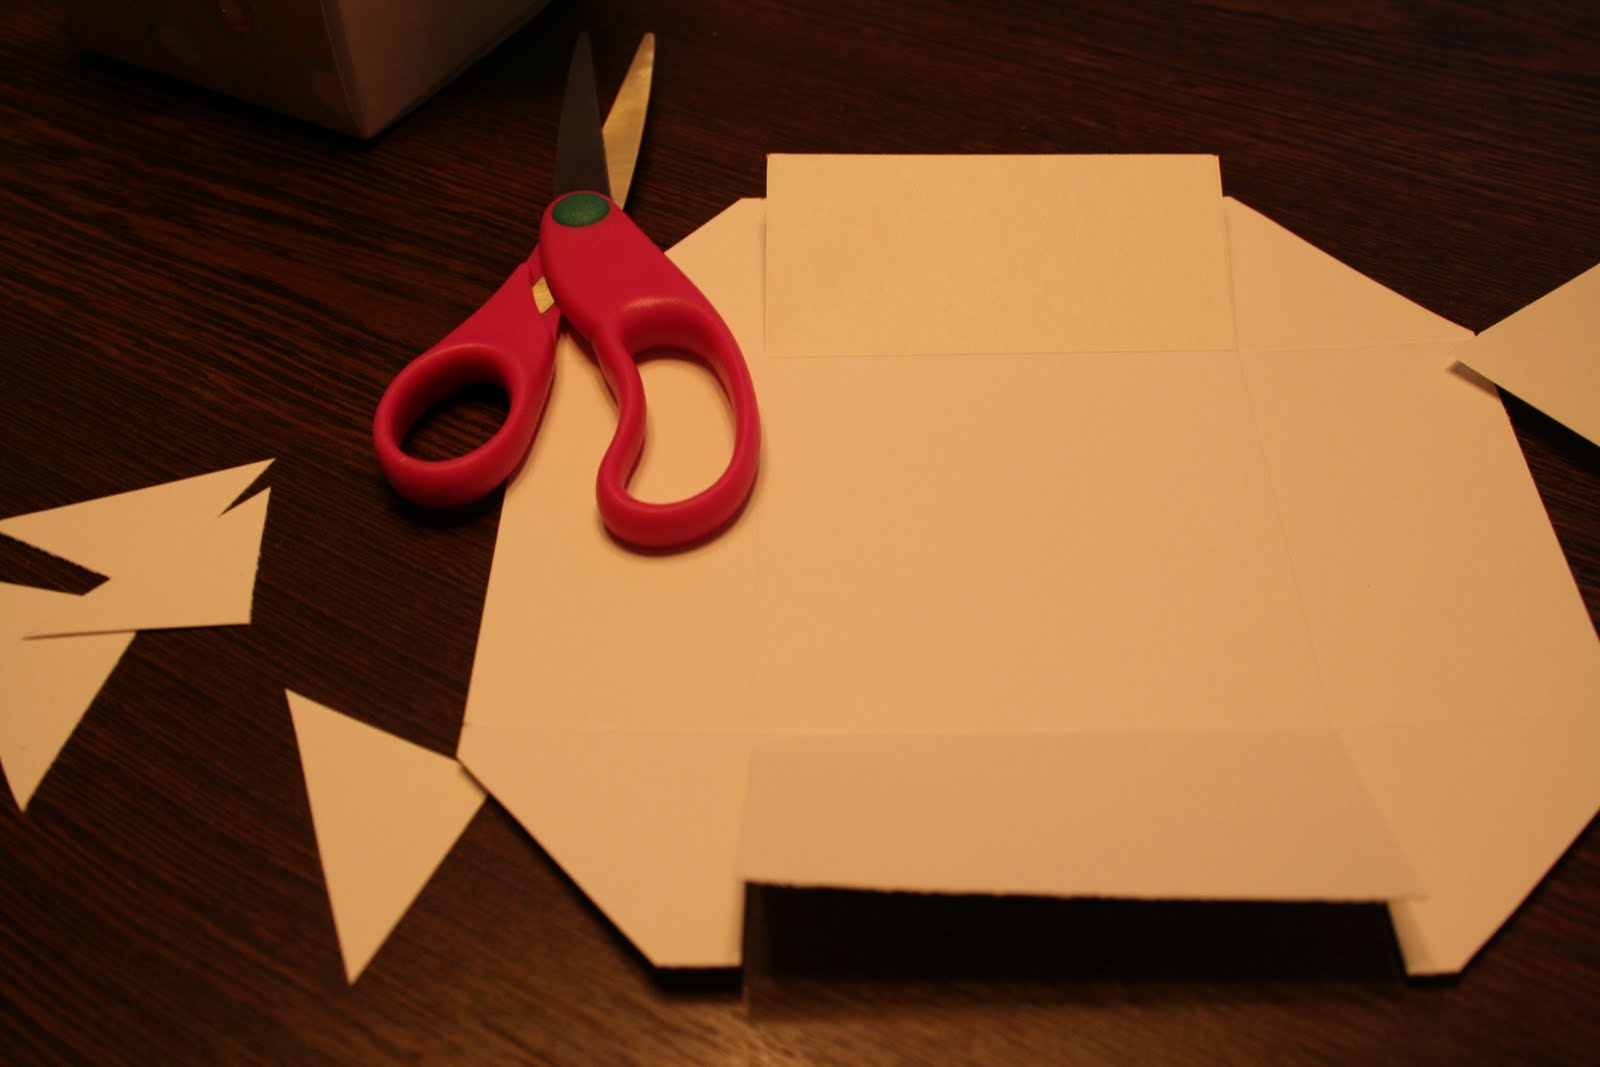
 Follow the same steps for making the box that are found
  Glue your patterned paper to the box. I punched a hole in mine so you could see a little bit of apple peeking out.


 Isn't it nice to have a pretty package for your treats you give away. There are three different size treat packages that I like to keep on hand. The first are these cute little boxes. Four truffles fit perfectly in the box. Two cookies also snuggle right down in there.