 I used a dollar store board book and ripped the pictures off and then painted its edges and covered it with scrapbook paper.
Each of the pages has one story and several songs on tags that can be pulled out of pockets.
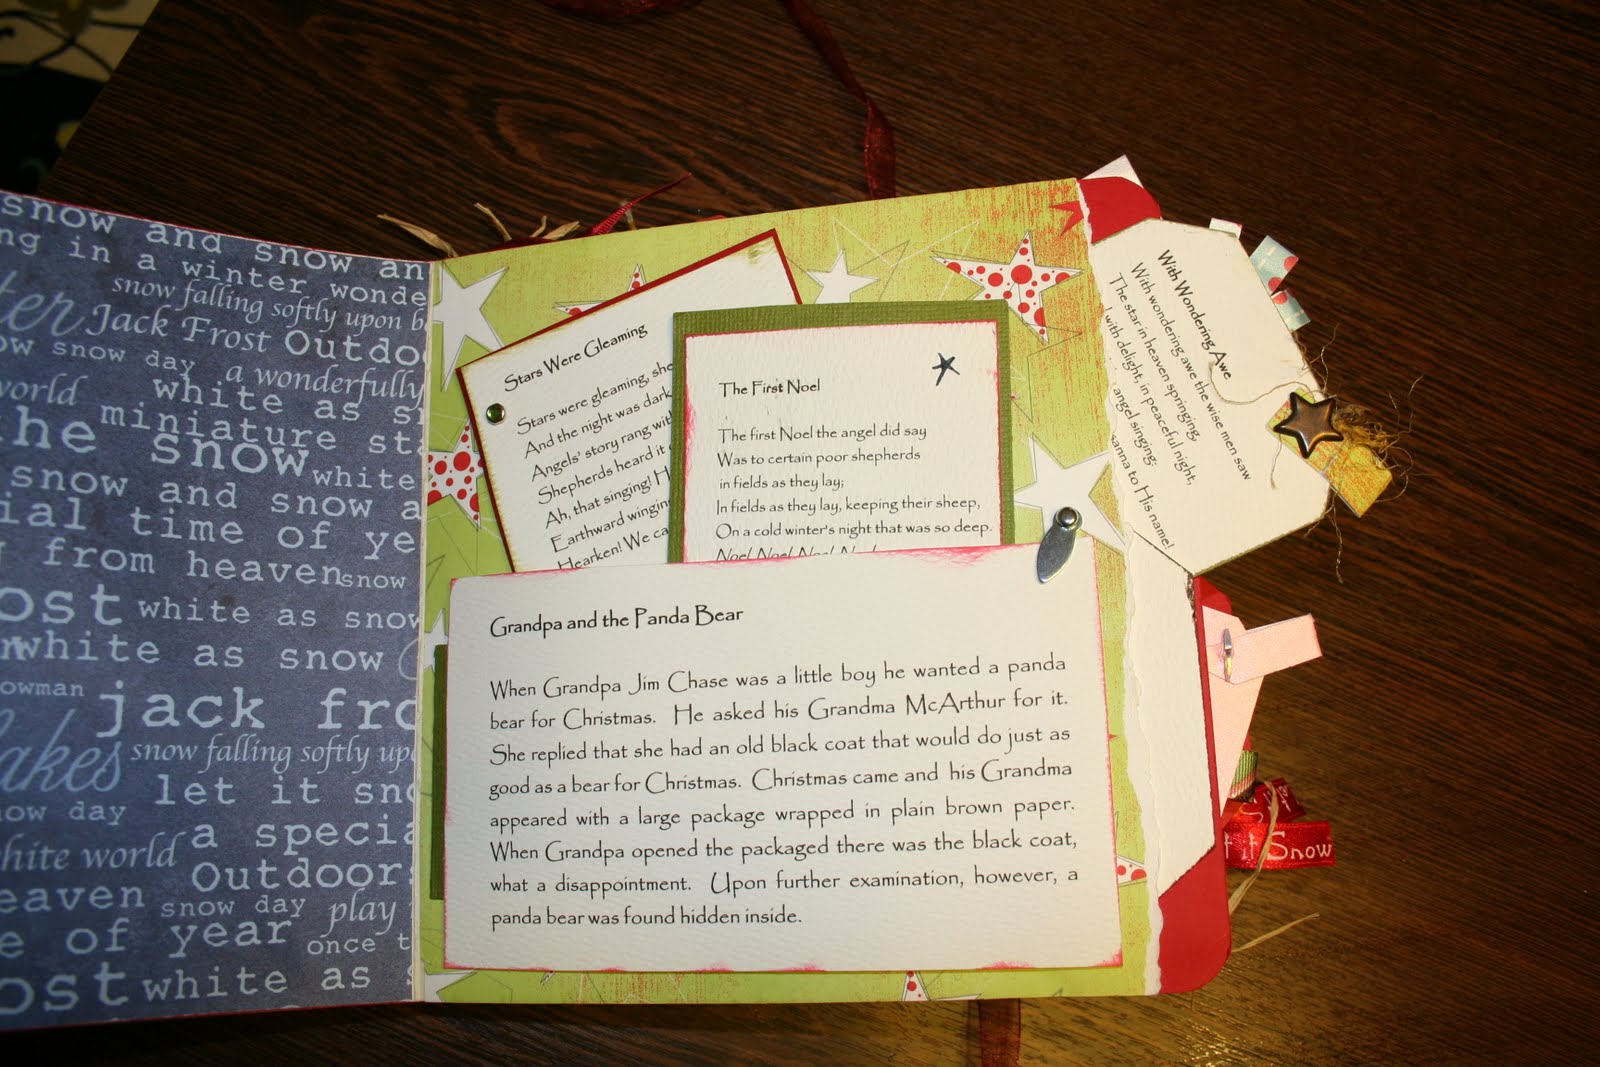
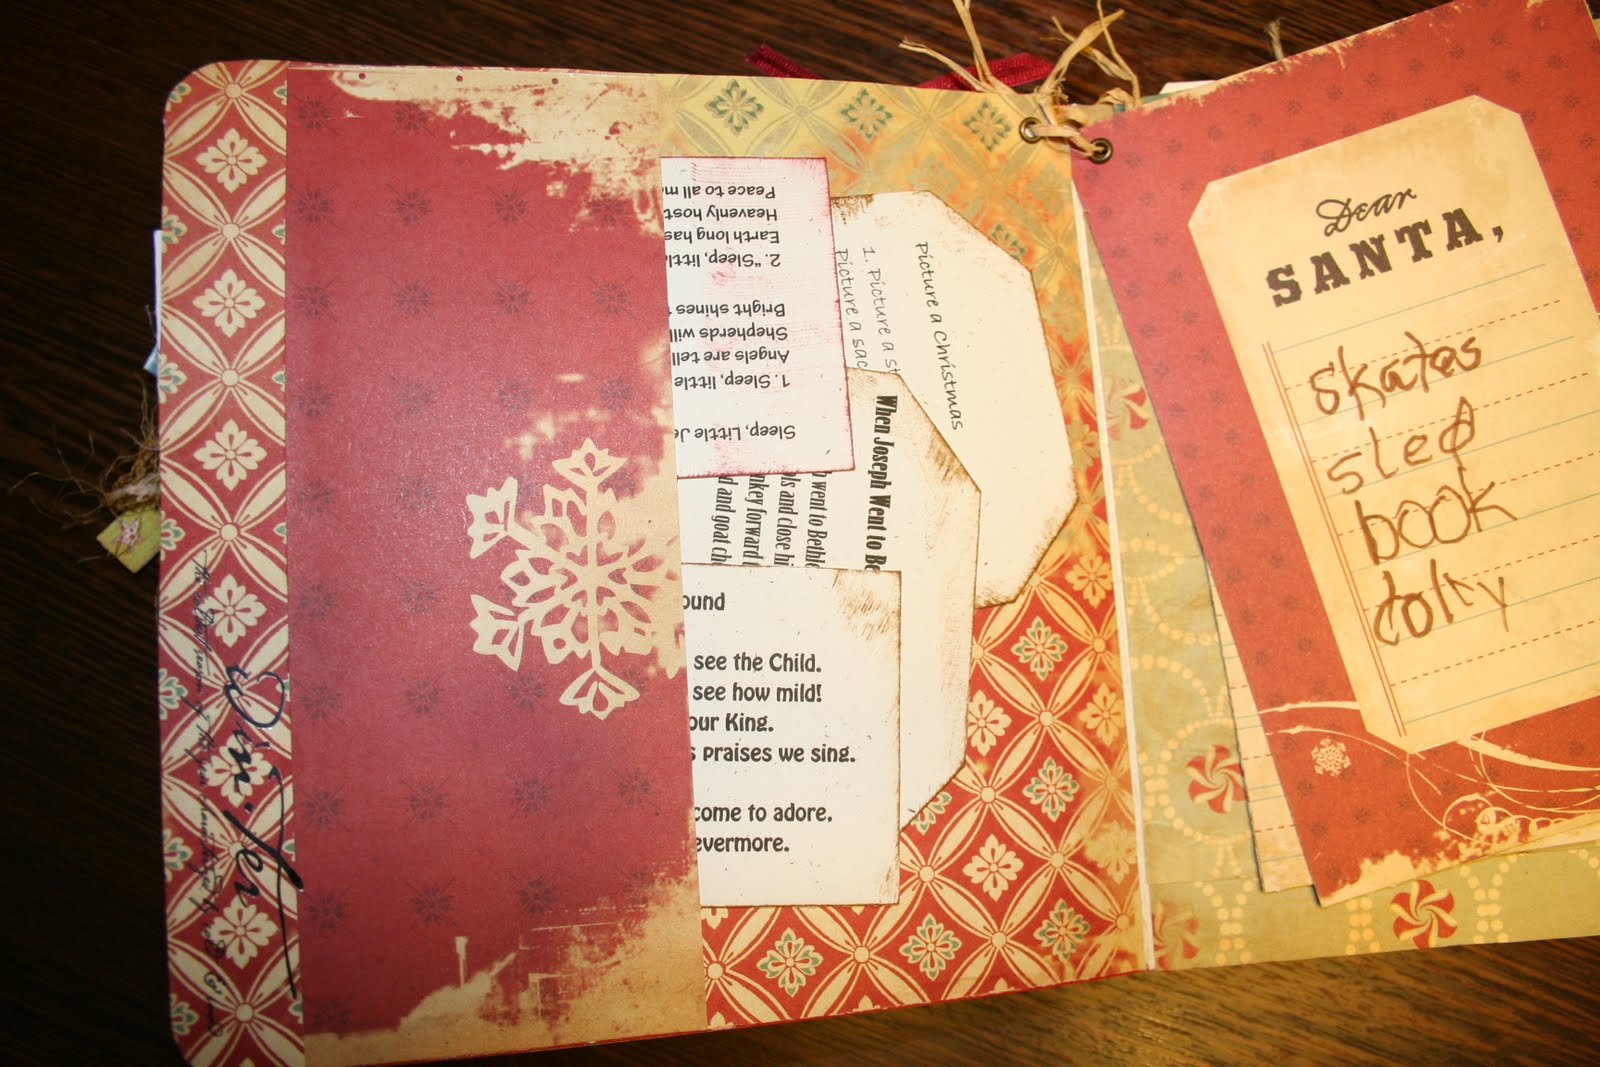

 I put a lot of family stories in it about Christmas's from the grandparents which the girls love. It has been a great way for them to learn a little about their ancestors and have some holiday fun.
 Have you seen that fabulous fabric wreath over at V and Co. The first thing I thought when I saw it was I want one. The second thing I thought was I can make it with paper.


